Shop by Category
-

BEST SELLER
Feed Your Guests and Create a Spectacular Party with These Best Selling...
-

SPORTS THEMES
Celebrate your favorite sport for any occasion! Sports Party Supplies are great...
-

Table Covers
Add to Your Décor and Minimize the Mess with Table Covers Planning...


New Designs
-
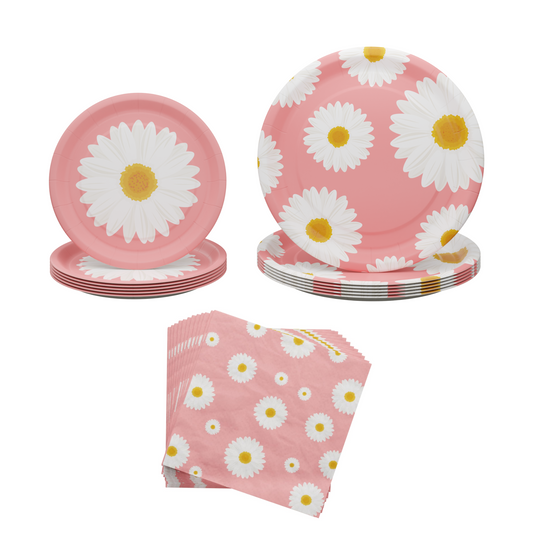
Blue Orchards Daisy Party Plates and Napkins (52 pieces for 16 Guests)
Regular price $14.99Regular priceUnit price per -
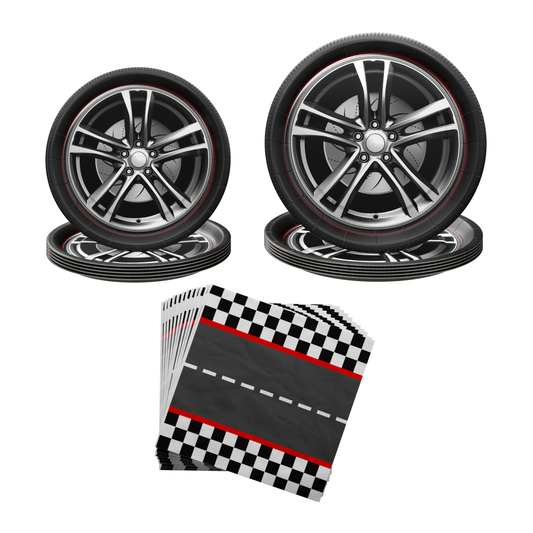
Blue Orchards Race Car Plates and Napkins (52 Pieces for 16 Guests)
Regular price $14.99Regular priceUnit price per -
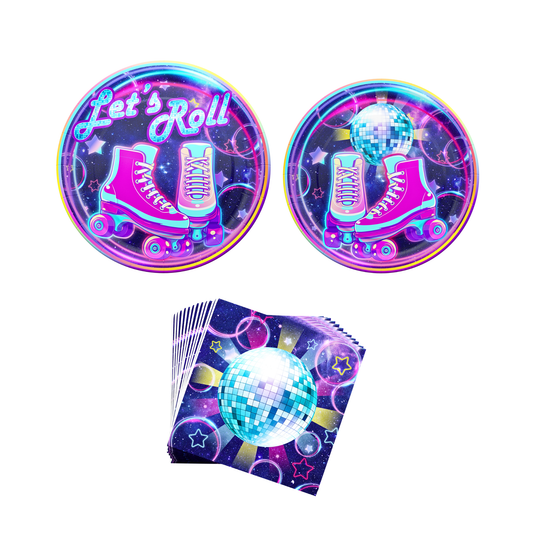
Blue Orchards Roller Skating Party Plates and Napkins (52 Pieces for 20 Guests)
Regular price $14.99Regular priceUnit price per -
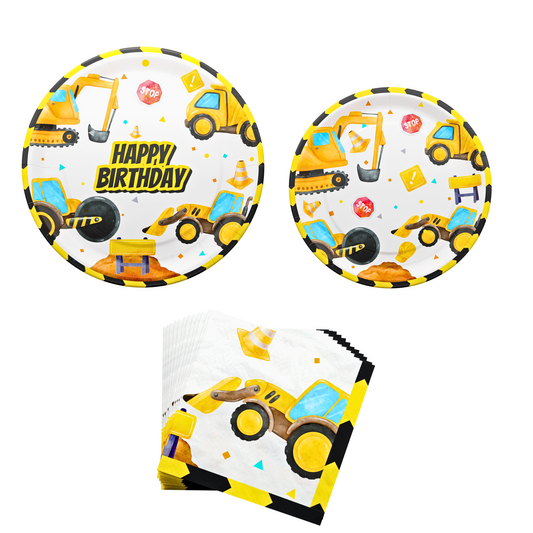
Blue Orchards Construction Plates and Napkins (52 Pieces for 16 Guests)
Regular price $14.99Regular priceUnit price per